
Welcome back to chapter 2 of your Linux learning journey! Today, we’ll explore how you can try Linux safely without affecting your existing system. We will cover what Linux distros are, introduce some popular ones in 2025, and then dive into a detailed, step-by-step guide to installing Ubuntu Linux inside VirtualBox, a free virtual machine software.
1. What Is a Linux Distro?
A Linux distribution (or distro) packages the Linux kernel together with software, libraries, and a desktop environment to provide a complete operating system. Different distros cater to different users — some prioritize ease of use, others stability, or cutting-edge software.
Top Distros in 2025:
- Ubuntu: Beginner-friendly with expansive community support.
- Linux Mint: Great for Windows switchers, familiar UI.
- Fedora: For developers wanting latest software.
- Debian: Rock-solid and used extensively on servers.
- Arch: DIY, best for advanced users who want full control.
- Manjaro: An easier Arch experience.
- Kali Linux: Focused on cybersecurity and penetration testing.
- Pop!_OS: Tailored for developers and gamers with extra graphics support.
2. Two Easy Ways to Try Linux Without Installing
A. Live USB:
- A Live USB lets you boot a Linux distro directly from a USB flash drive without modifying your computer’s hard drive.
- It’s perfect for testing Linux or troubleshooting.
- The system runs from the USB, so once you remove it and reboot, your main OS remains unchanged.
B. Virtual Machine Using VirtualBox:
- VirtualBox creates a “computer inside your computer.”
- You can install Linux as a guest OS inside your current Windows/macOS/Linux.
- Allows experimentation without any risk to your real system.
3. Detailed Step-by-Step: Installing Ubuntu on VirtualBox
Here’s a complete guide to get Ubuntu running inside VirtualBox.
Step 1: Download Ubuntu ISO
- Visit the official Ubuntu website. [https://ubuntu.com/]
- Download the latest Long-Term Support (LTS) Ubuntu Desktop ISO file (about 3GB).
Step 2: Download and Install VirtualBox
- Go to the VirtualBox website. [https://www.virtualbox.org/]
- Download the version for your current OS (Windows, Mac, Linux).
- Install it like any other application.
Step 3: Create a New Virtual Machine
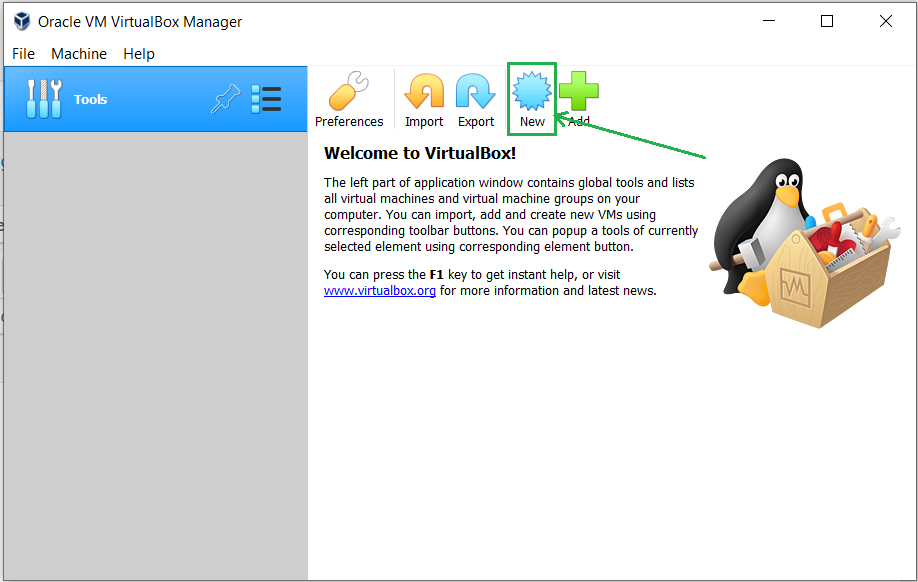
Open VirtualBox.
Click New to create a new virtual machine.
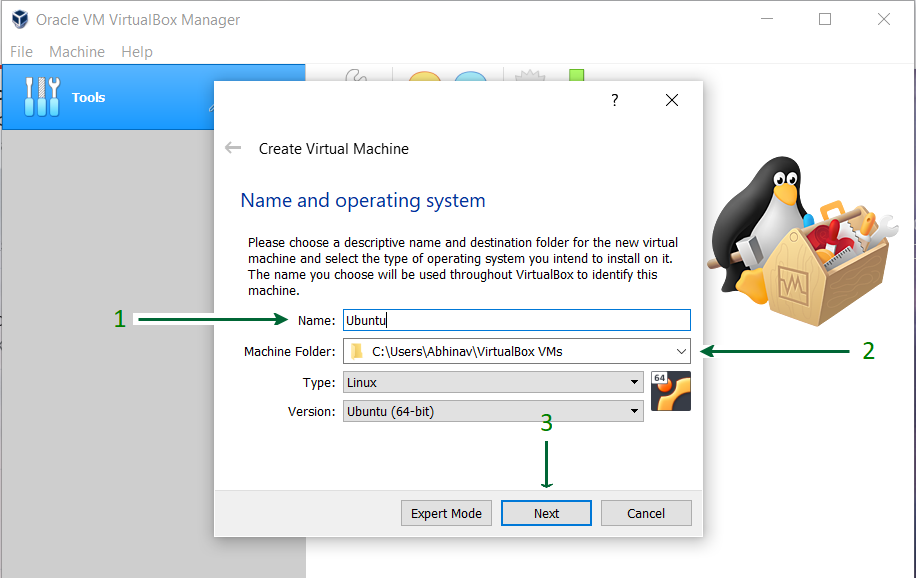
Name it “Ubuntu” (the type auto-selects Linux).
Choose version: “Ubuntu (64-bit)” if your PC supports 64-bit.
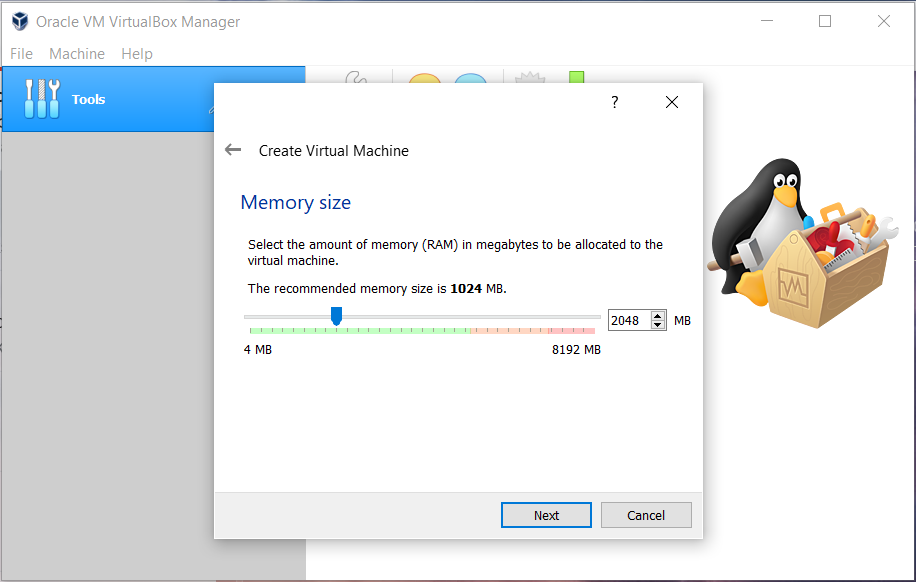
Assign RAM: minimum 2048MB (2GB), or more if possible.
Create a Virtual Hard Disk for the machine to store files.
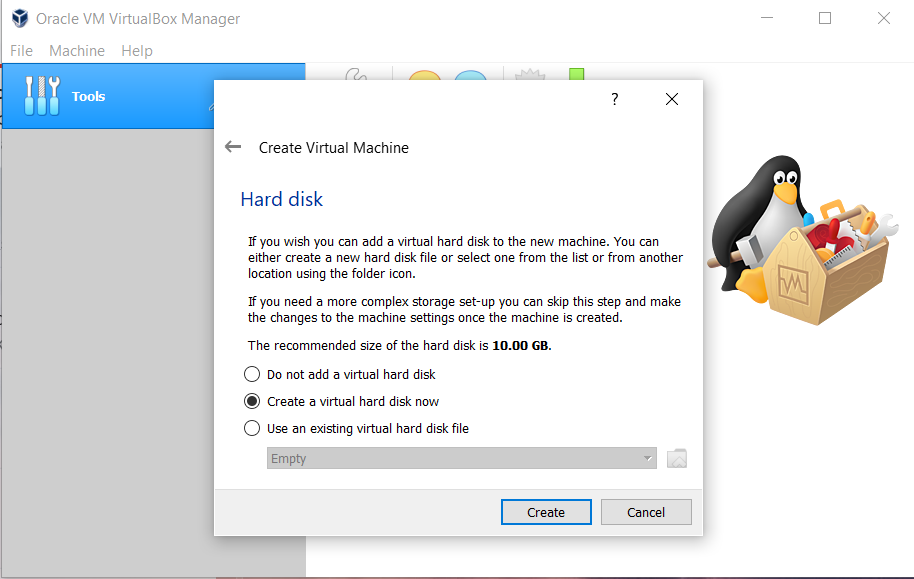
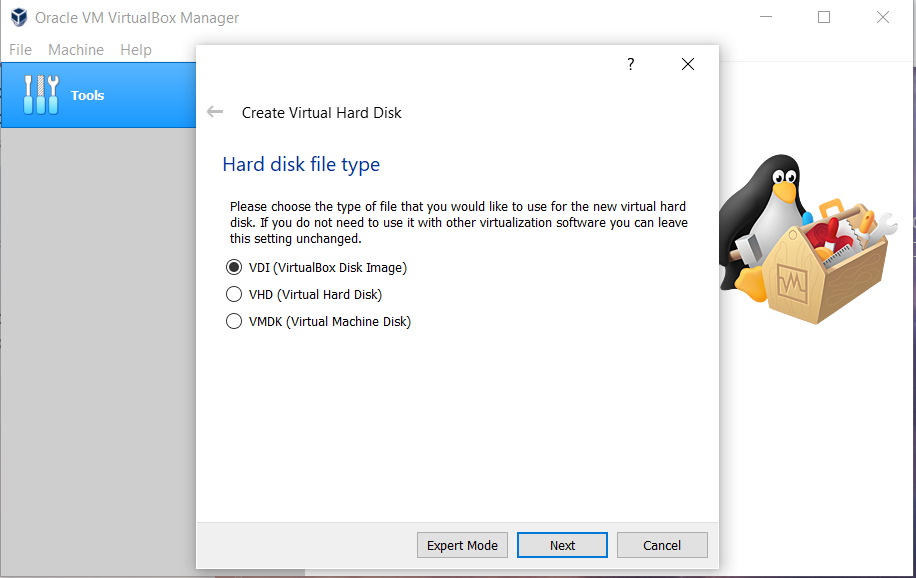
Select the type of Hard disk. Using VDI type is recommended.
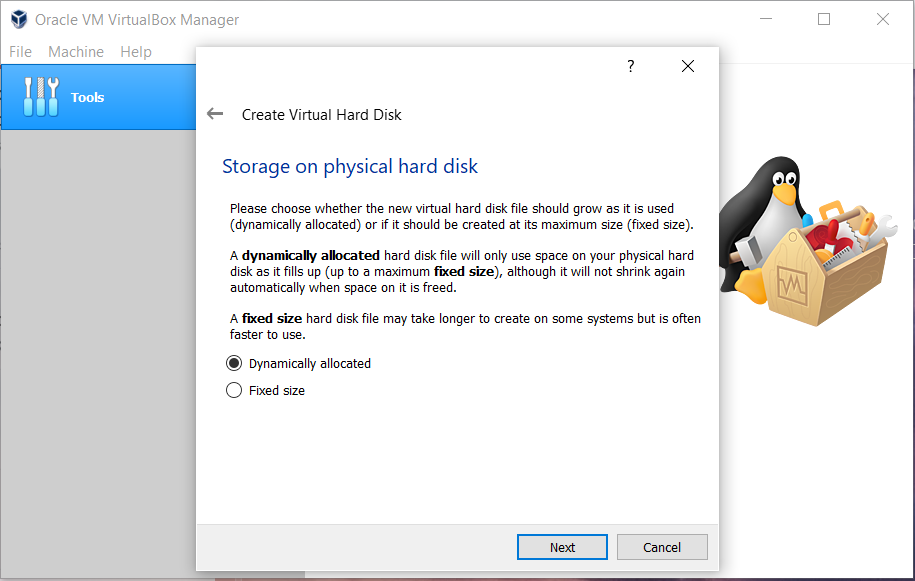
Either of the Physical Storage types can be selected. Using a Dynamically Allocated Disk is by default recommended.
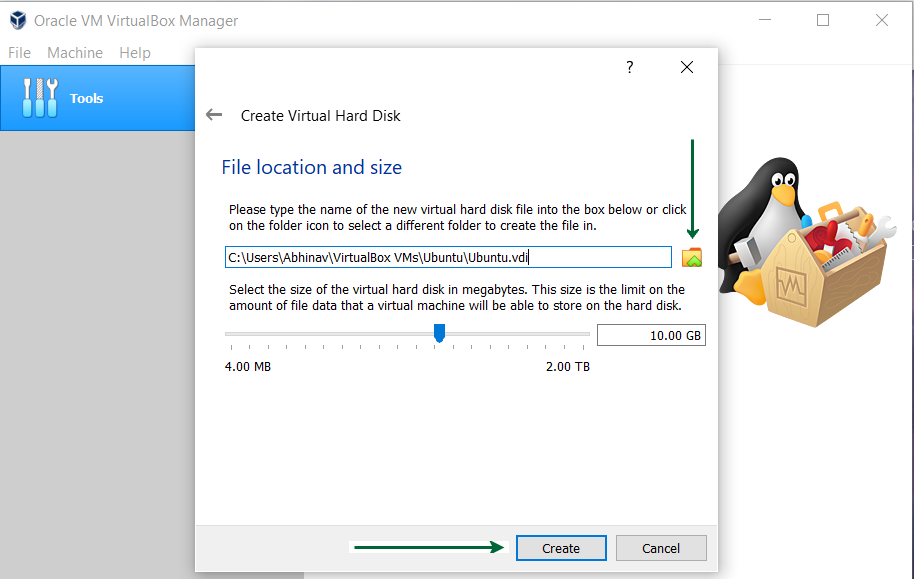
Select Disk Size and provide the Destination Folder to install.
Step 4: Mount Ubuntu ISO in Virtual Machine
- Select your new VM and click Settings.
- Go to Storage.
- Under “Controller: IDE,” click the empty CD/DVD drive.
- Click the disk icon on right → Choose a disk file → select your Ubuntu ISO downloaded earlier.
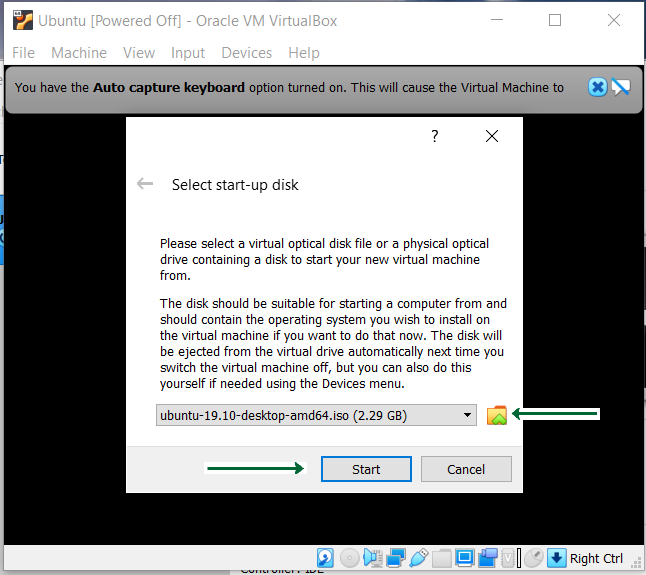
Step 5: Power On the Virtual Machine
Start the VM.
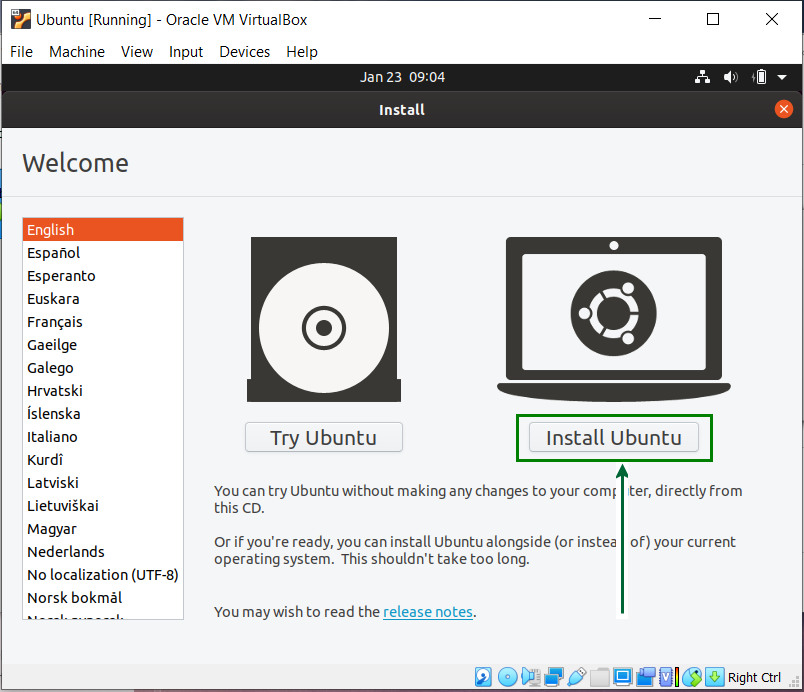
You’ll see the Ubuntu boot menu.
Choose Try Ubuntu to test without installing, or Install Ubuntu to proceed with installation.
Step 6: Installing Ubuntu Inside VirtualBox
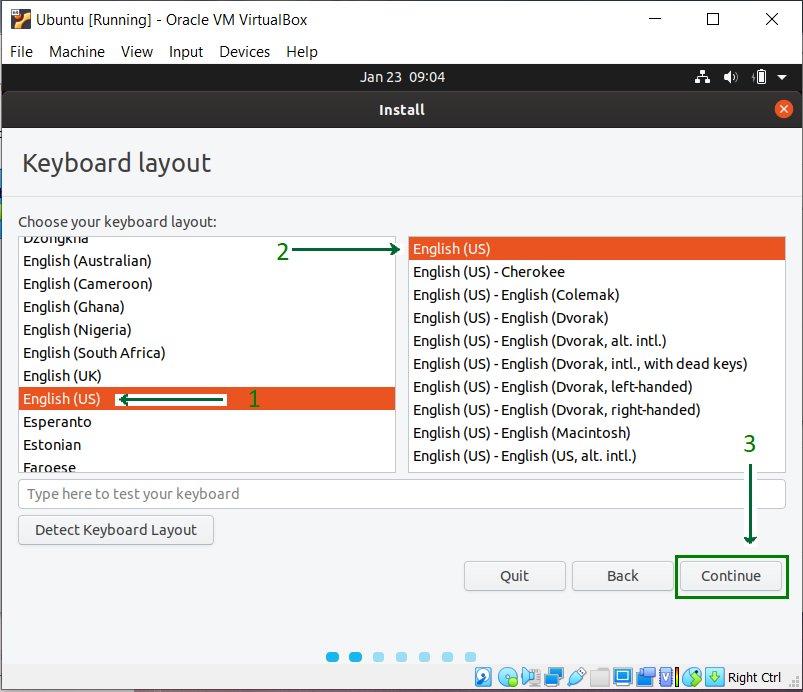
Select your language and keyboard layout.
Choose “Normal Installation” for typical user setup.
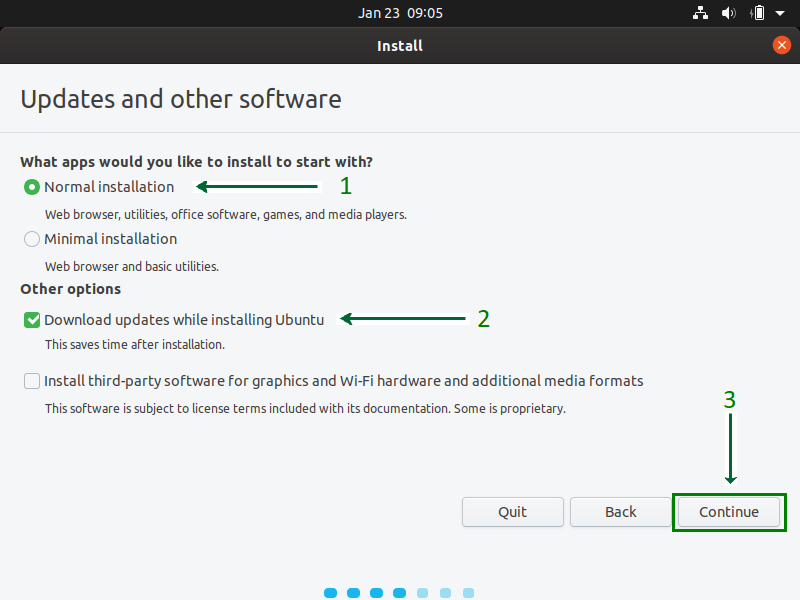
Connect to internet if possible (for updates).
Installation type: For VirtualBox, choose “Erase disk and install Ubuntu” — it affects only the virtual drive, not your real computer.
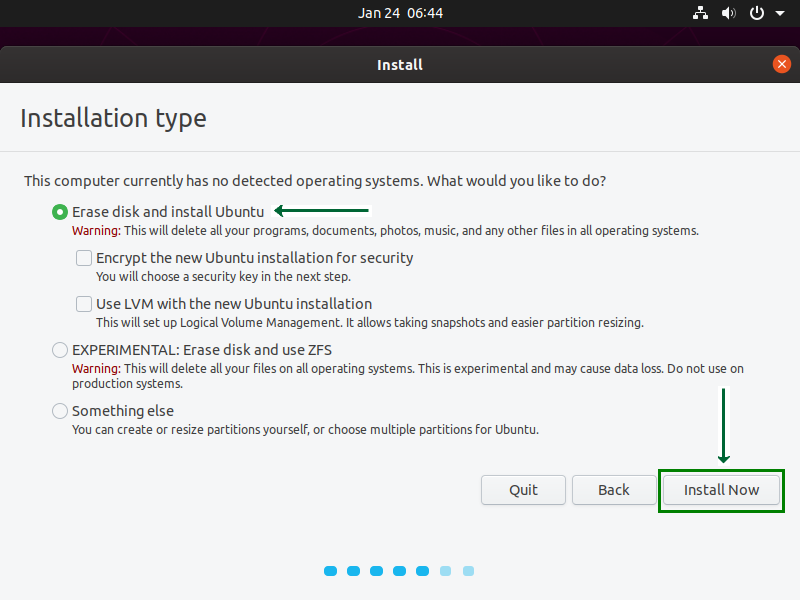
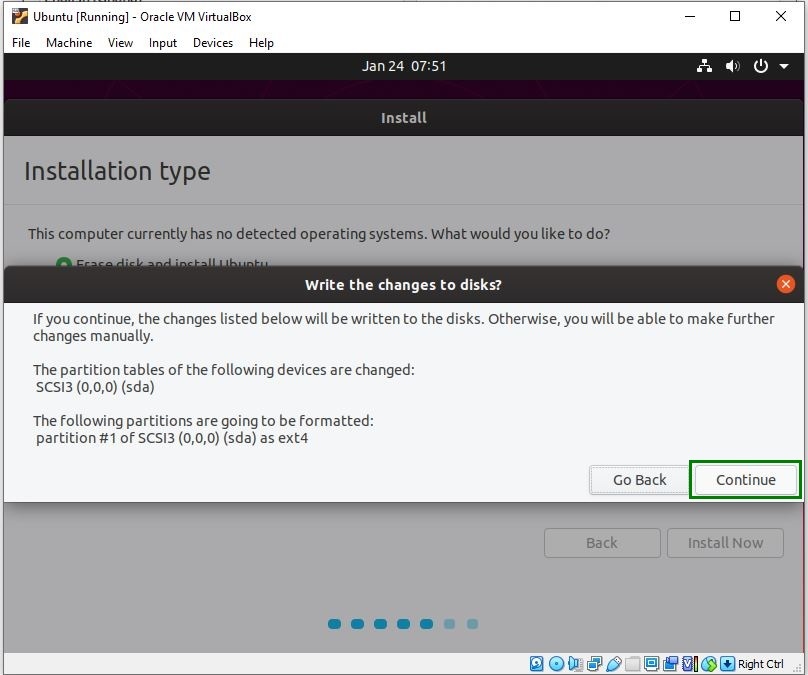
Click Install Now. Confirm changes.
Set your timezone.

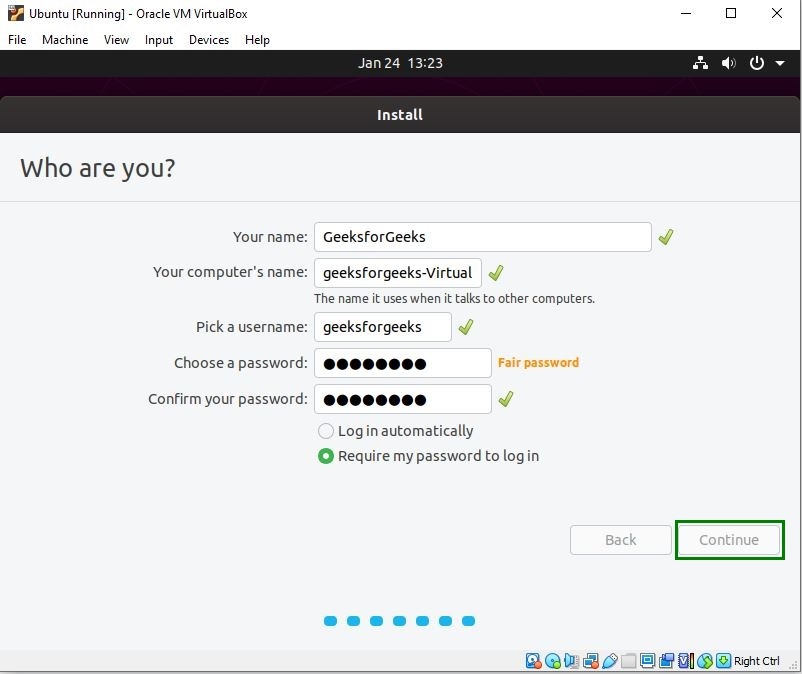
Create a user account: enter your name, username, password. Choose to log in automatically or require password.
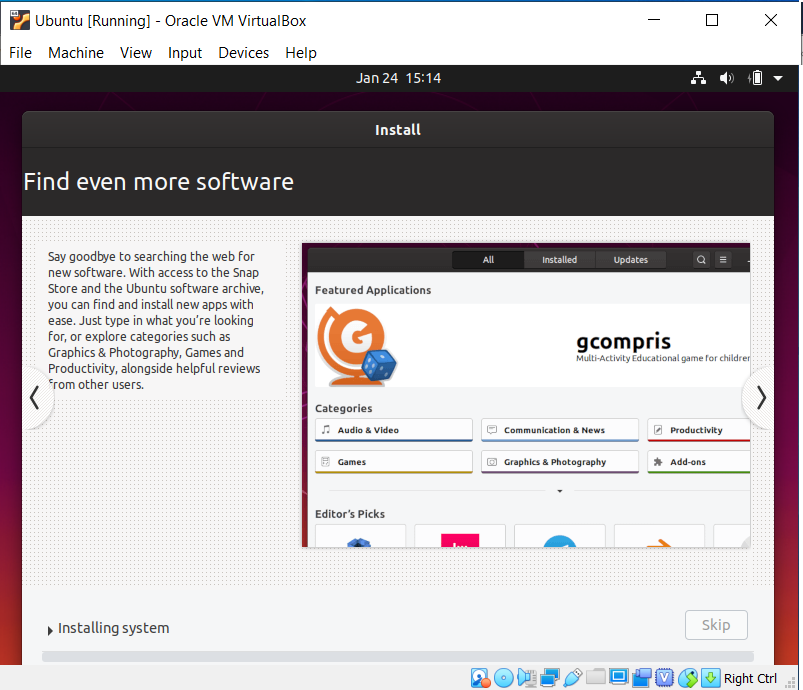
Installation will progress, copying files and configuring system.
Step 7: Reboot and Removing ISO
- When the installation finishes, you’ll be prompted to restart.
- Before rebooting, go back to VirtualBox Settings → Storage.
- Remove the Ubuntu ISO from the virtual drive so VirtualBox boots from the virtual hard disk.
- Restart the VM.
Step 8: First Boot into Ubuntu
Login with your username/password.
Explore the desktop, open Terminal (
Ctrl+Alt+T), run basic commands likels,pwd.Run system updates:
sudo apt update
sudo apt upgrade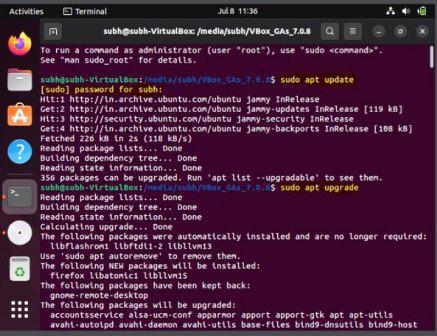
Install extra software via Ubuntu Software Center or terminal commands.
4. Why Try in VirtualBox Before Installing on Your PC?
- No risk of deleting your files or messing with your main OS.
- Try multiple distros without rebooting or partitioning your hard disk.
- Snapshots let you save VM “checkpoints” to revert if something breaks.
- Convenience of testing on the go.
5. What’s Next?
Ready to install Linux for real on your computer? In the next blog, I will guide you through creating Live USBs and dual-boot installations so you can safely have Linux alongside Windows or macOS.
Exercise for Today:
- Download VirtualBox and Ubuntu ISO.
- Set up Ubuntu in VirtualBox using the steps above.
- Write one new Linux command you tried in the terminal.